FIMS spreadsheet validation and upload
Validating and then uploading the spreadsheet
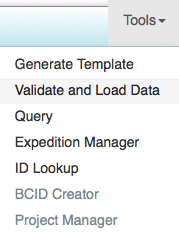
Once we have a spreadsheet fully populated, our next step will be to validate and upload the spreadsheet tothe FIMS. The validation step checks every specimen record to make sure that they meet the set of rules established by the project. Go to http://biscicol.org and click the Login button at the top. Log in with your pre-assigned BiSciCol username and password. (You do not need to log in to validate your spreadsheet, but you must be logged in to upload it to the database). After logging in, click on the Tools button at the top, and then choose Validation.
On the Validate and Load Data page, for ‘FIMS Data’ click the Choose File (or Browse, depending on what browser you are using) button to select your spreadsheet. Select your Project from the Project drop-down. If you are ready to upload your spreadsheet, select the Upload tick box. Once you check that box, the Dataset Code dropdown will appear. You can either leave it as Create New Expedition to upload the spreadsheet as a new dataset, or you can select one of your previously created datasets to overwrite. Ensure that the Public checkbox is ticked, otherwise the LIMS software will not be able to pull in the information. Press Submit.
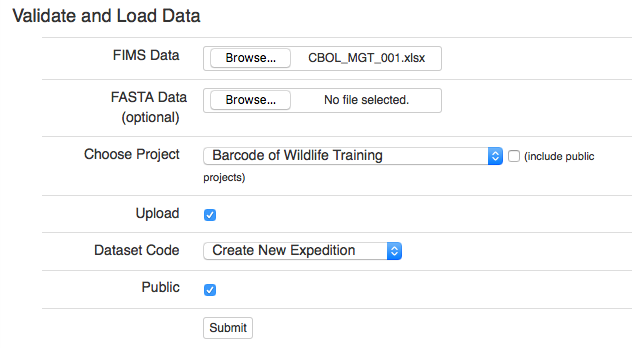
If you chose to Create New Expedition, you will be asked to enter an code. Remember to follow the BWP FIMS naming conventions, and make sure not to repeat a previously created expedition code. Click Create.
Can I add a few records to an existing dataset by just uploading those new records?
NO. When you choose to upload to a previously created dataset, the old dataset will be completely deleted and replaced by the data in the new spreadsheet. Therefore you should add the new records to your existing dataset, save it, and validate and upload this updated spreadsheet.
Check that the spreadsheet was successfully uploaded
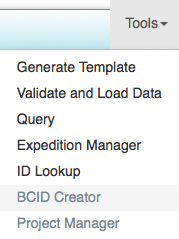
Even though we got a success message, let’s make sure your data made it into the database successfully. This will also show how to retrieve data from the FIMS if you ever want to make changes. Click on the Tools button up top, and choose Query.
On the Query page, you will be able to view the data from any dataset on any of the projects in the Biocode FIMS. This is why it is so important not to include sensitive information (such as highly accurate GPS coordinates) in spreadsheet uploads. To see the dataset we just uploaded, choose Barcode of Wildlife Training from the Choose Projects dropdown. Once the project is chosen, the list of datasets will be populated. Scroll through the list of datasets until you find the one you just created. If you do not see it in this list, then your data was not successfully uploaded.
Select the dataset you just uploaded and click the Table button. This will display an HTML table view of the specimen records in this dataset. It will be incredibly hard to read and scroll through, but be happy it made it in there.
You can click the Excel button to download a fresh Excel spreadsheet of this dataset. However, be advised that the wells are out of order and that you will lose any styling (colors, bold/italics, etc.) from when you originally uploaded the spreadsheet. Also, the default spreadsheet name is “biocode-fims-output.xls”, so be sure to rename it with your dataset name immediately.